A Wall-Mounted LED Train Map.
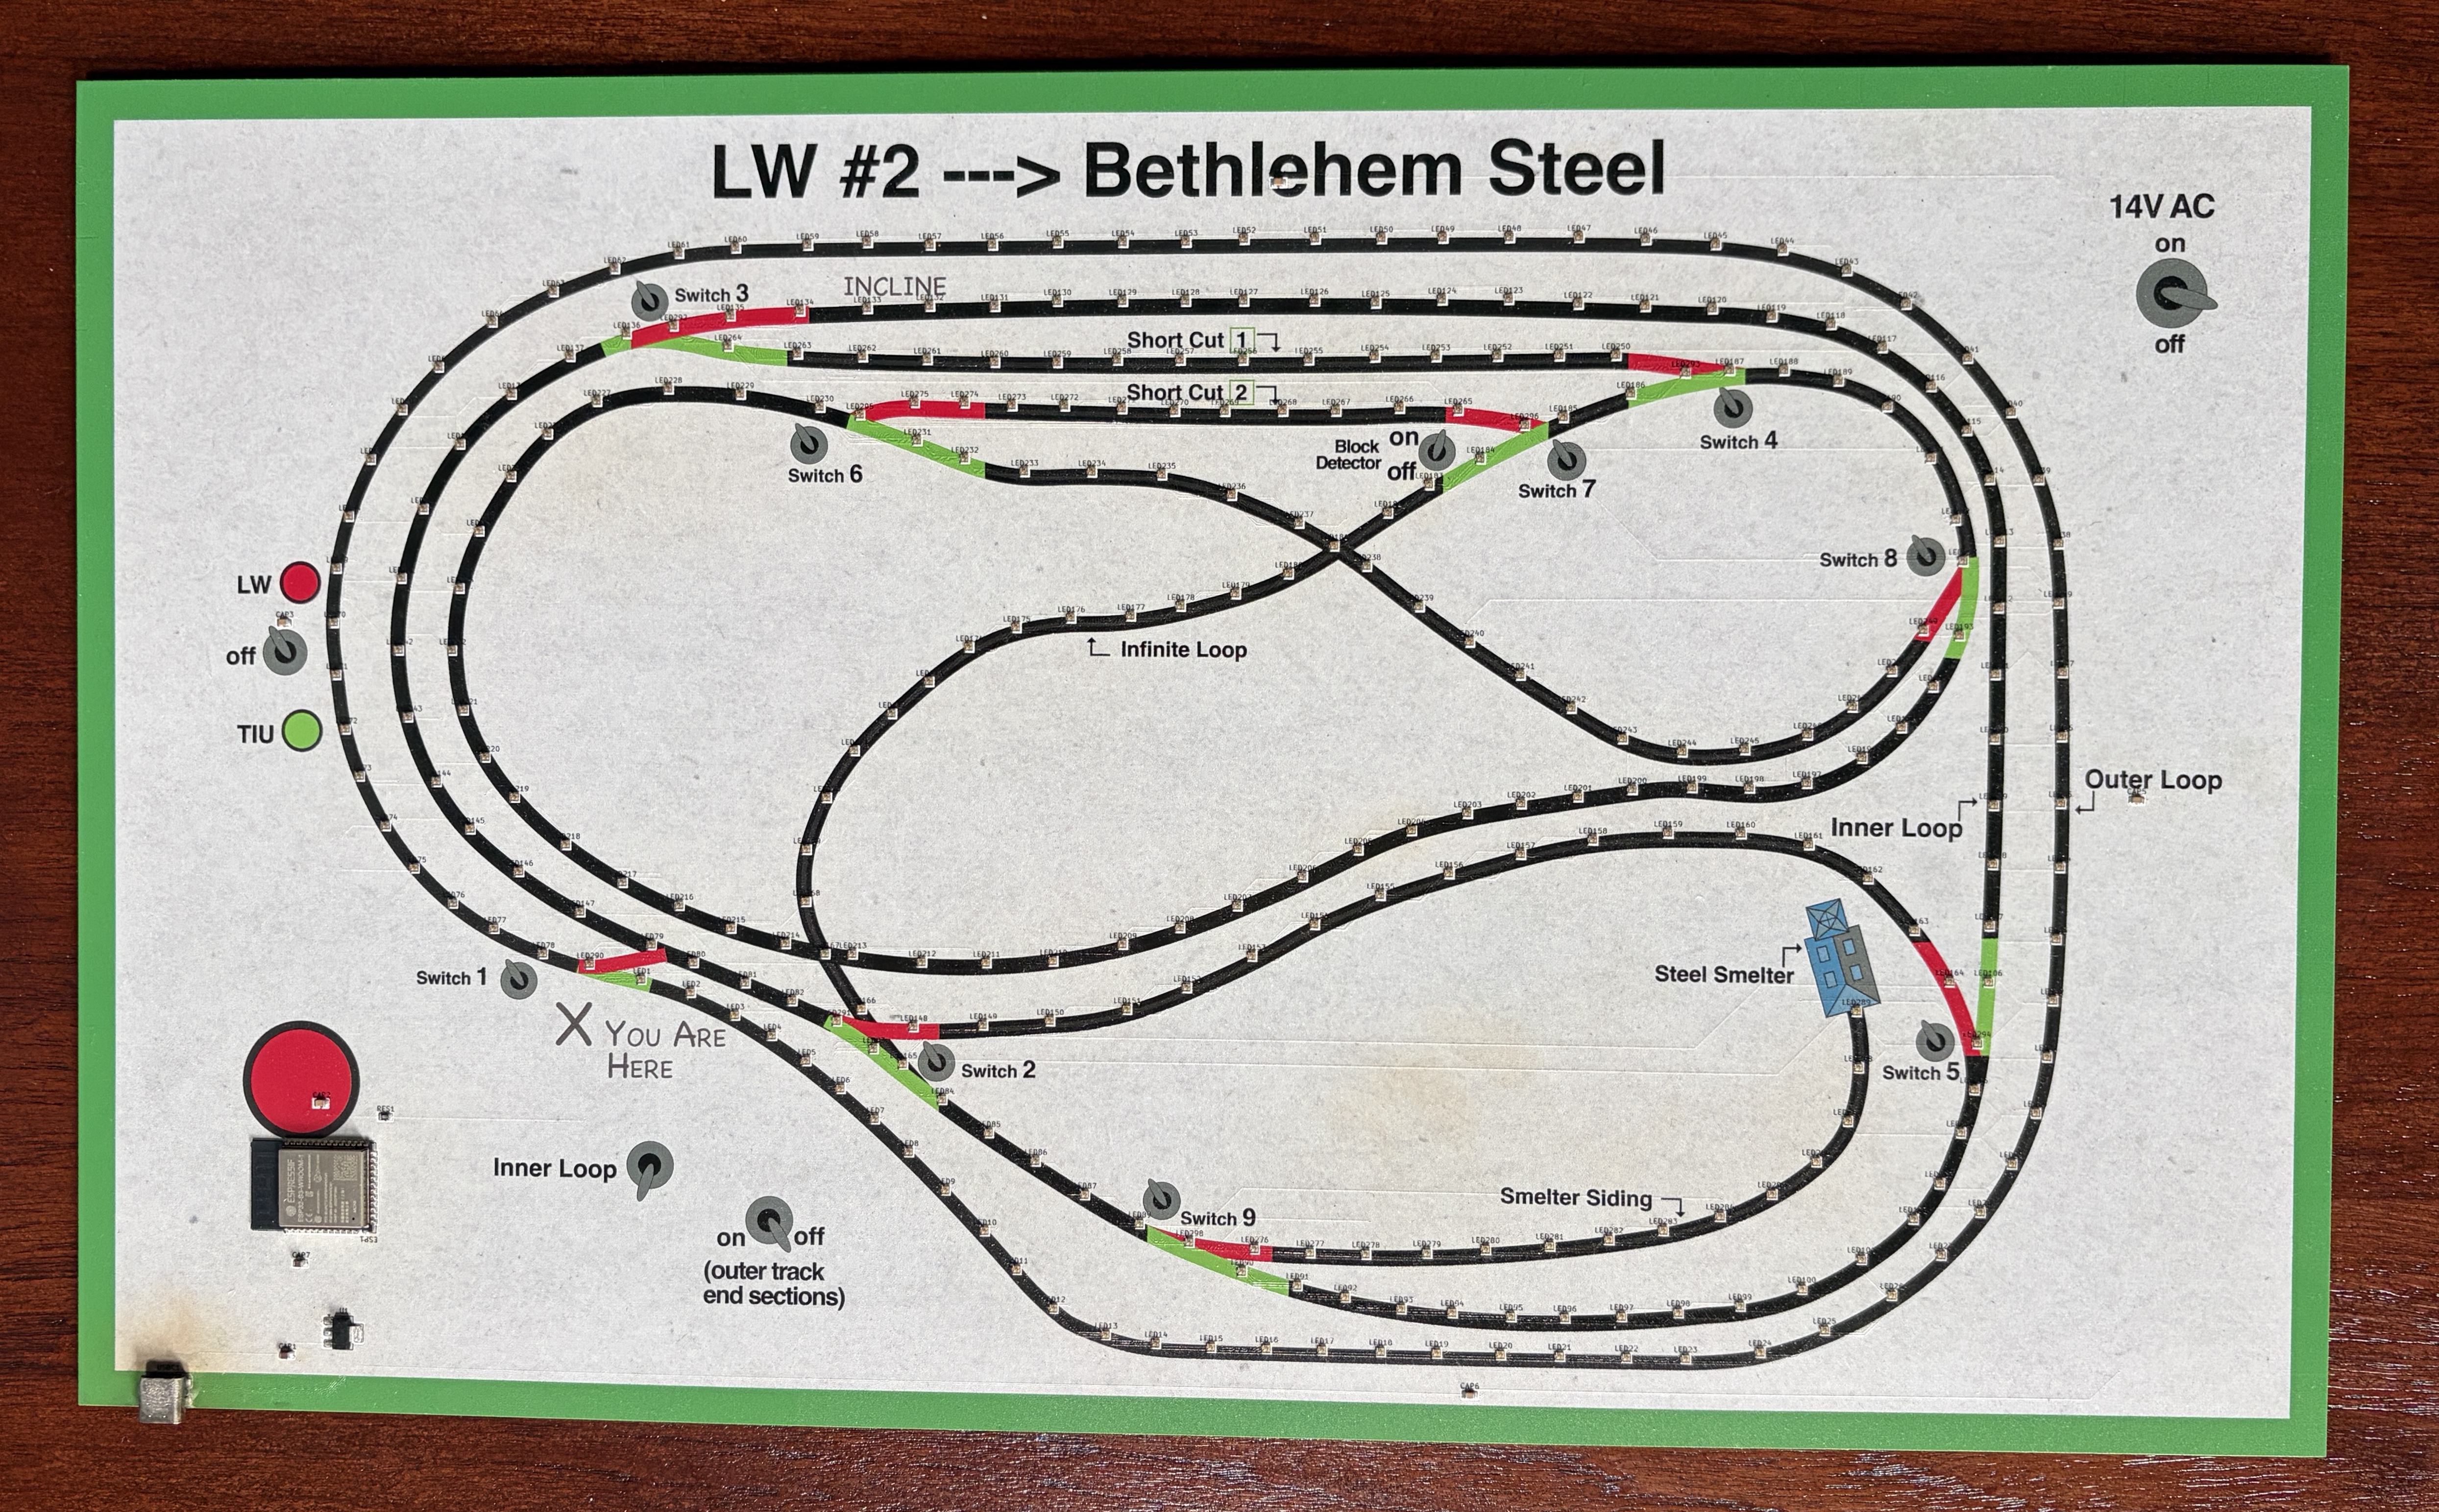
A wall-mounted LED art piece recreating my dad's hand-drawn model train mimic panel. 298 individual LEDs animate two trains running on the track, one looping the perimeter, one making dynamic switching decisions through the inner network. This was my first collaboration with AI tools to program and build a physical product.
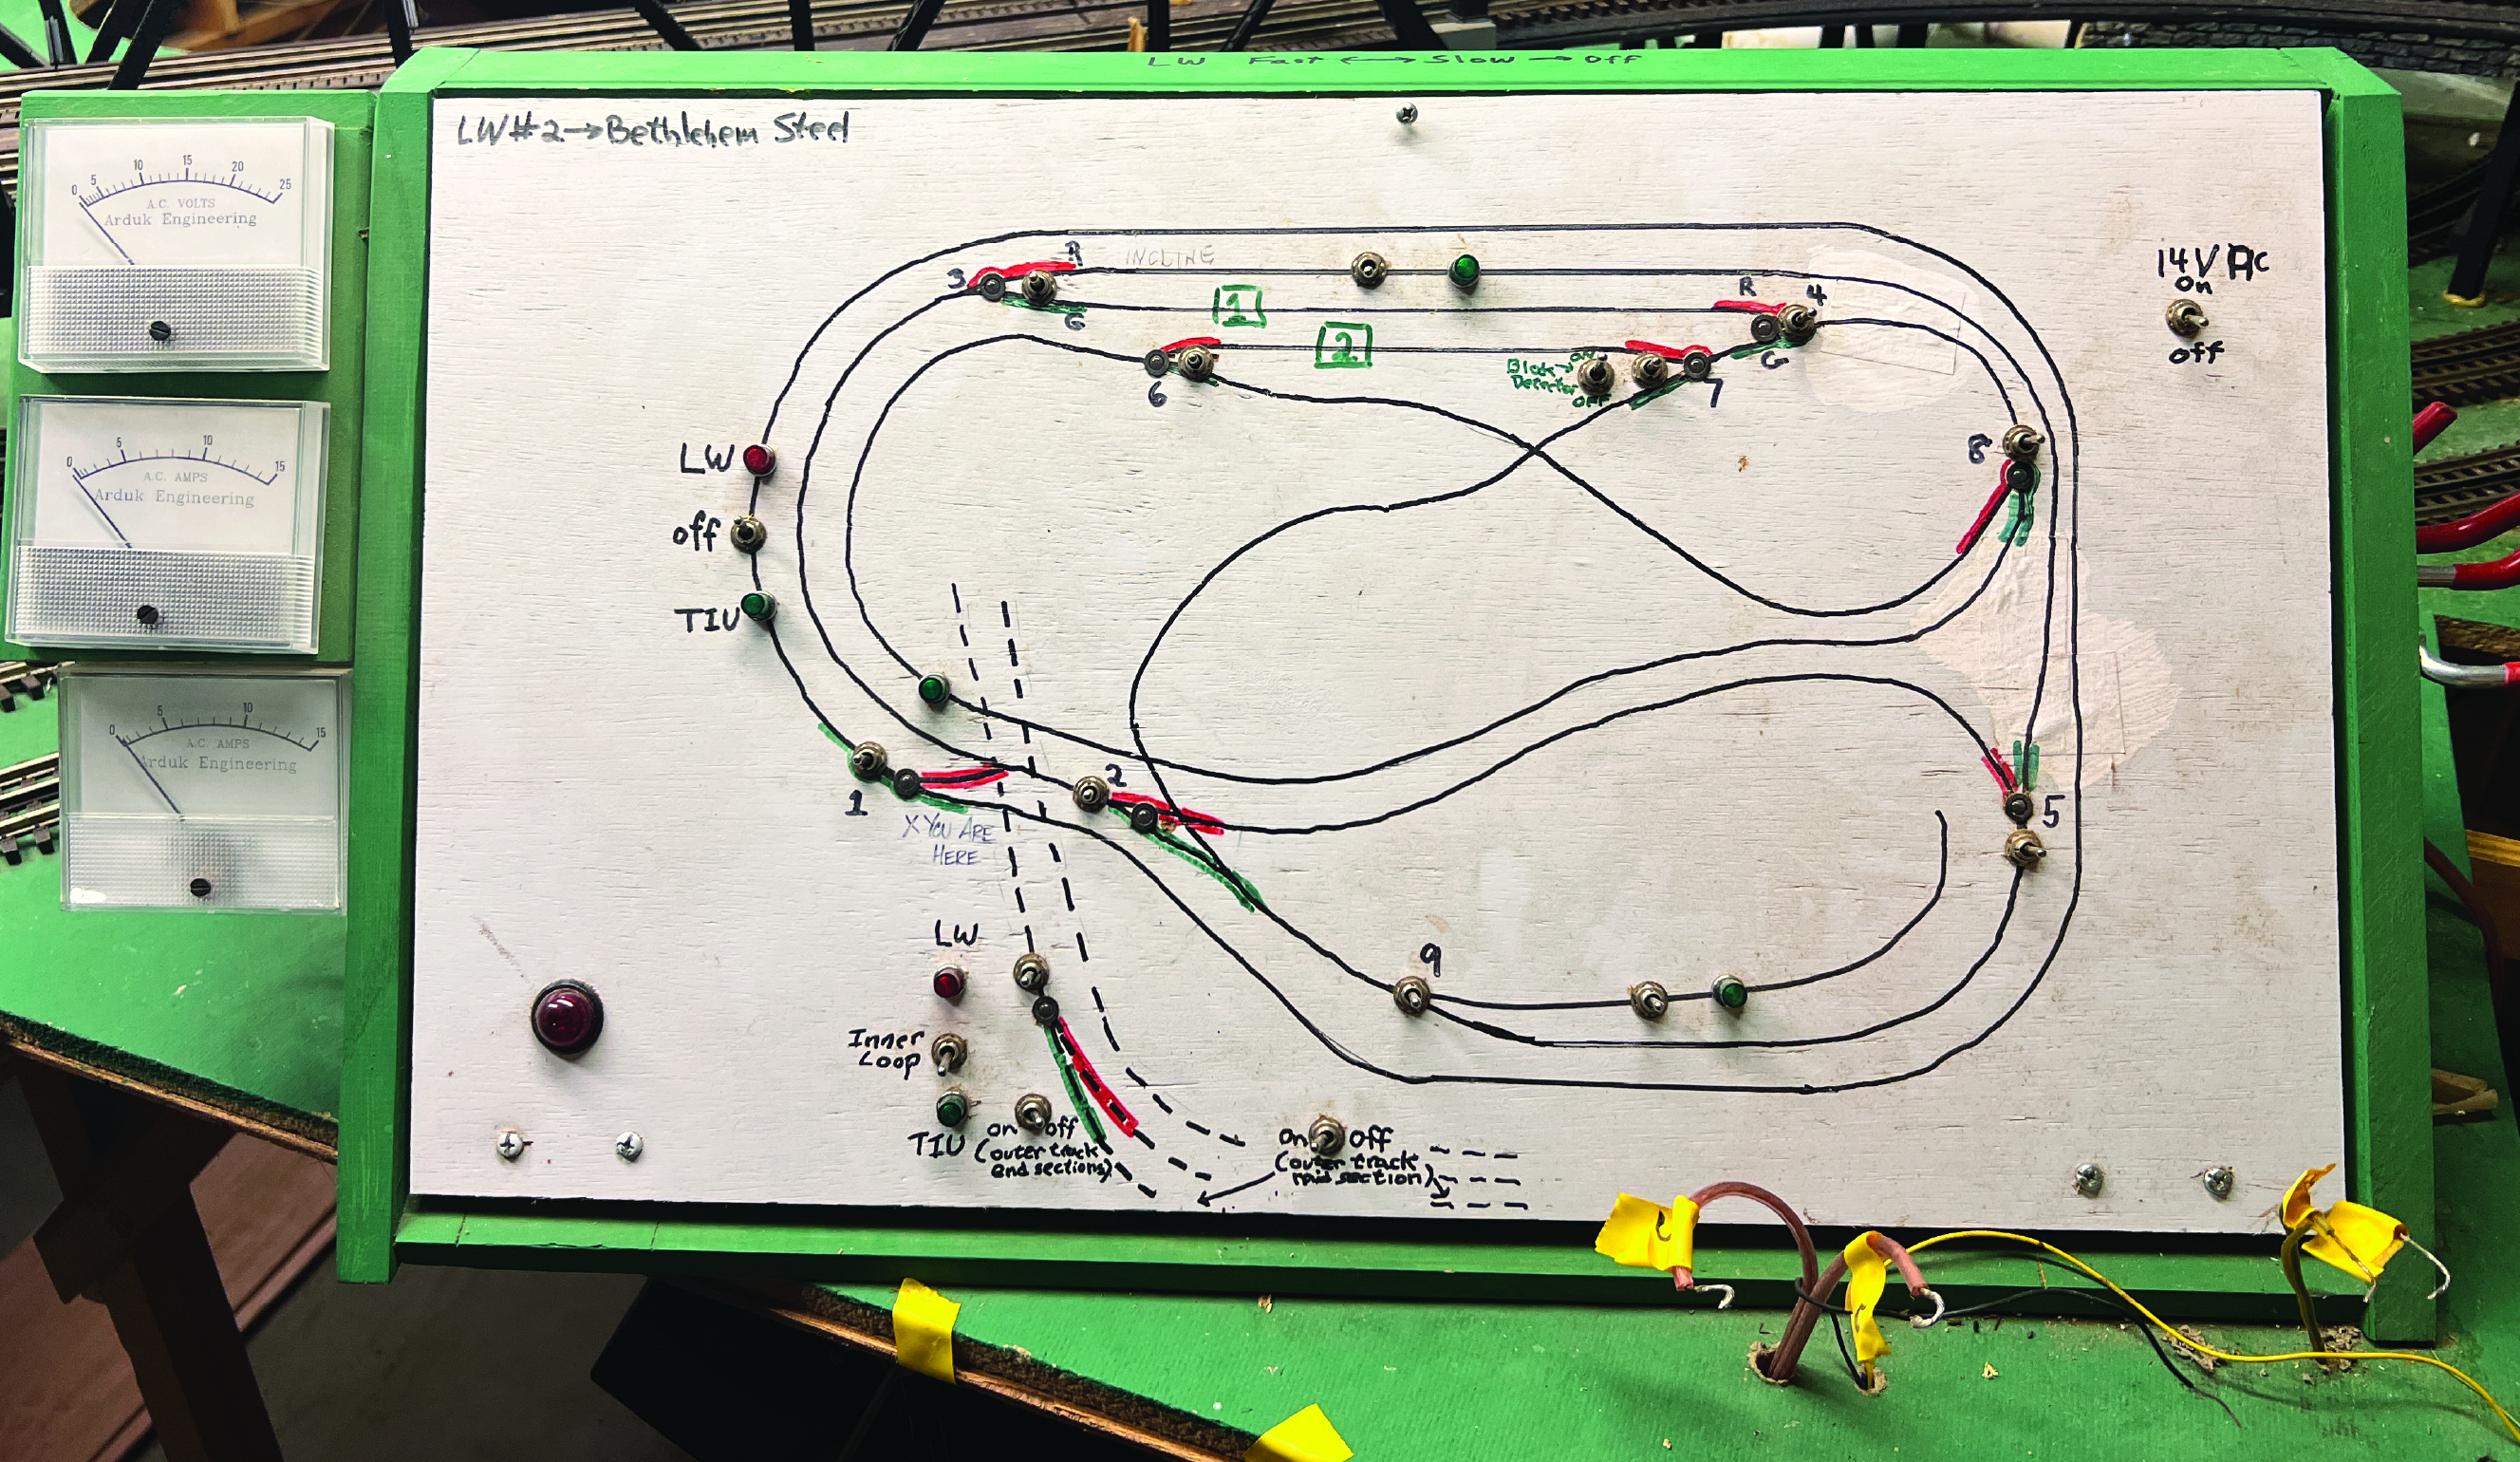
The client was my parents. My dad spent years building a model train layout in the basement before a serious accident left it unfinished. After ten years of various model train hobbyists trying and failing to get the half-built setup working, the entire setup was demolished. The only thing my mom kept post demolition was the hand-painted plywood mimic panel, which mapped where the tracks and switches were supposed to go. I snapped a photo of the map on a holiday visit home and started wondering what I could do with it.
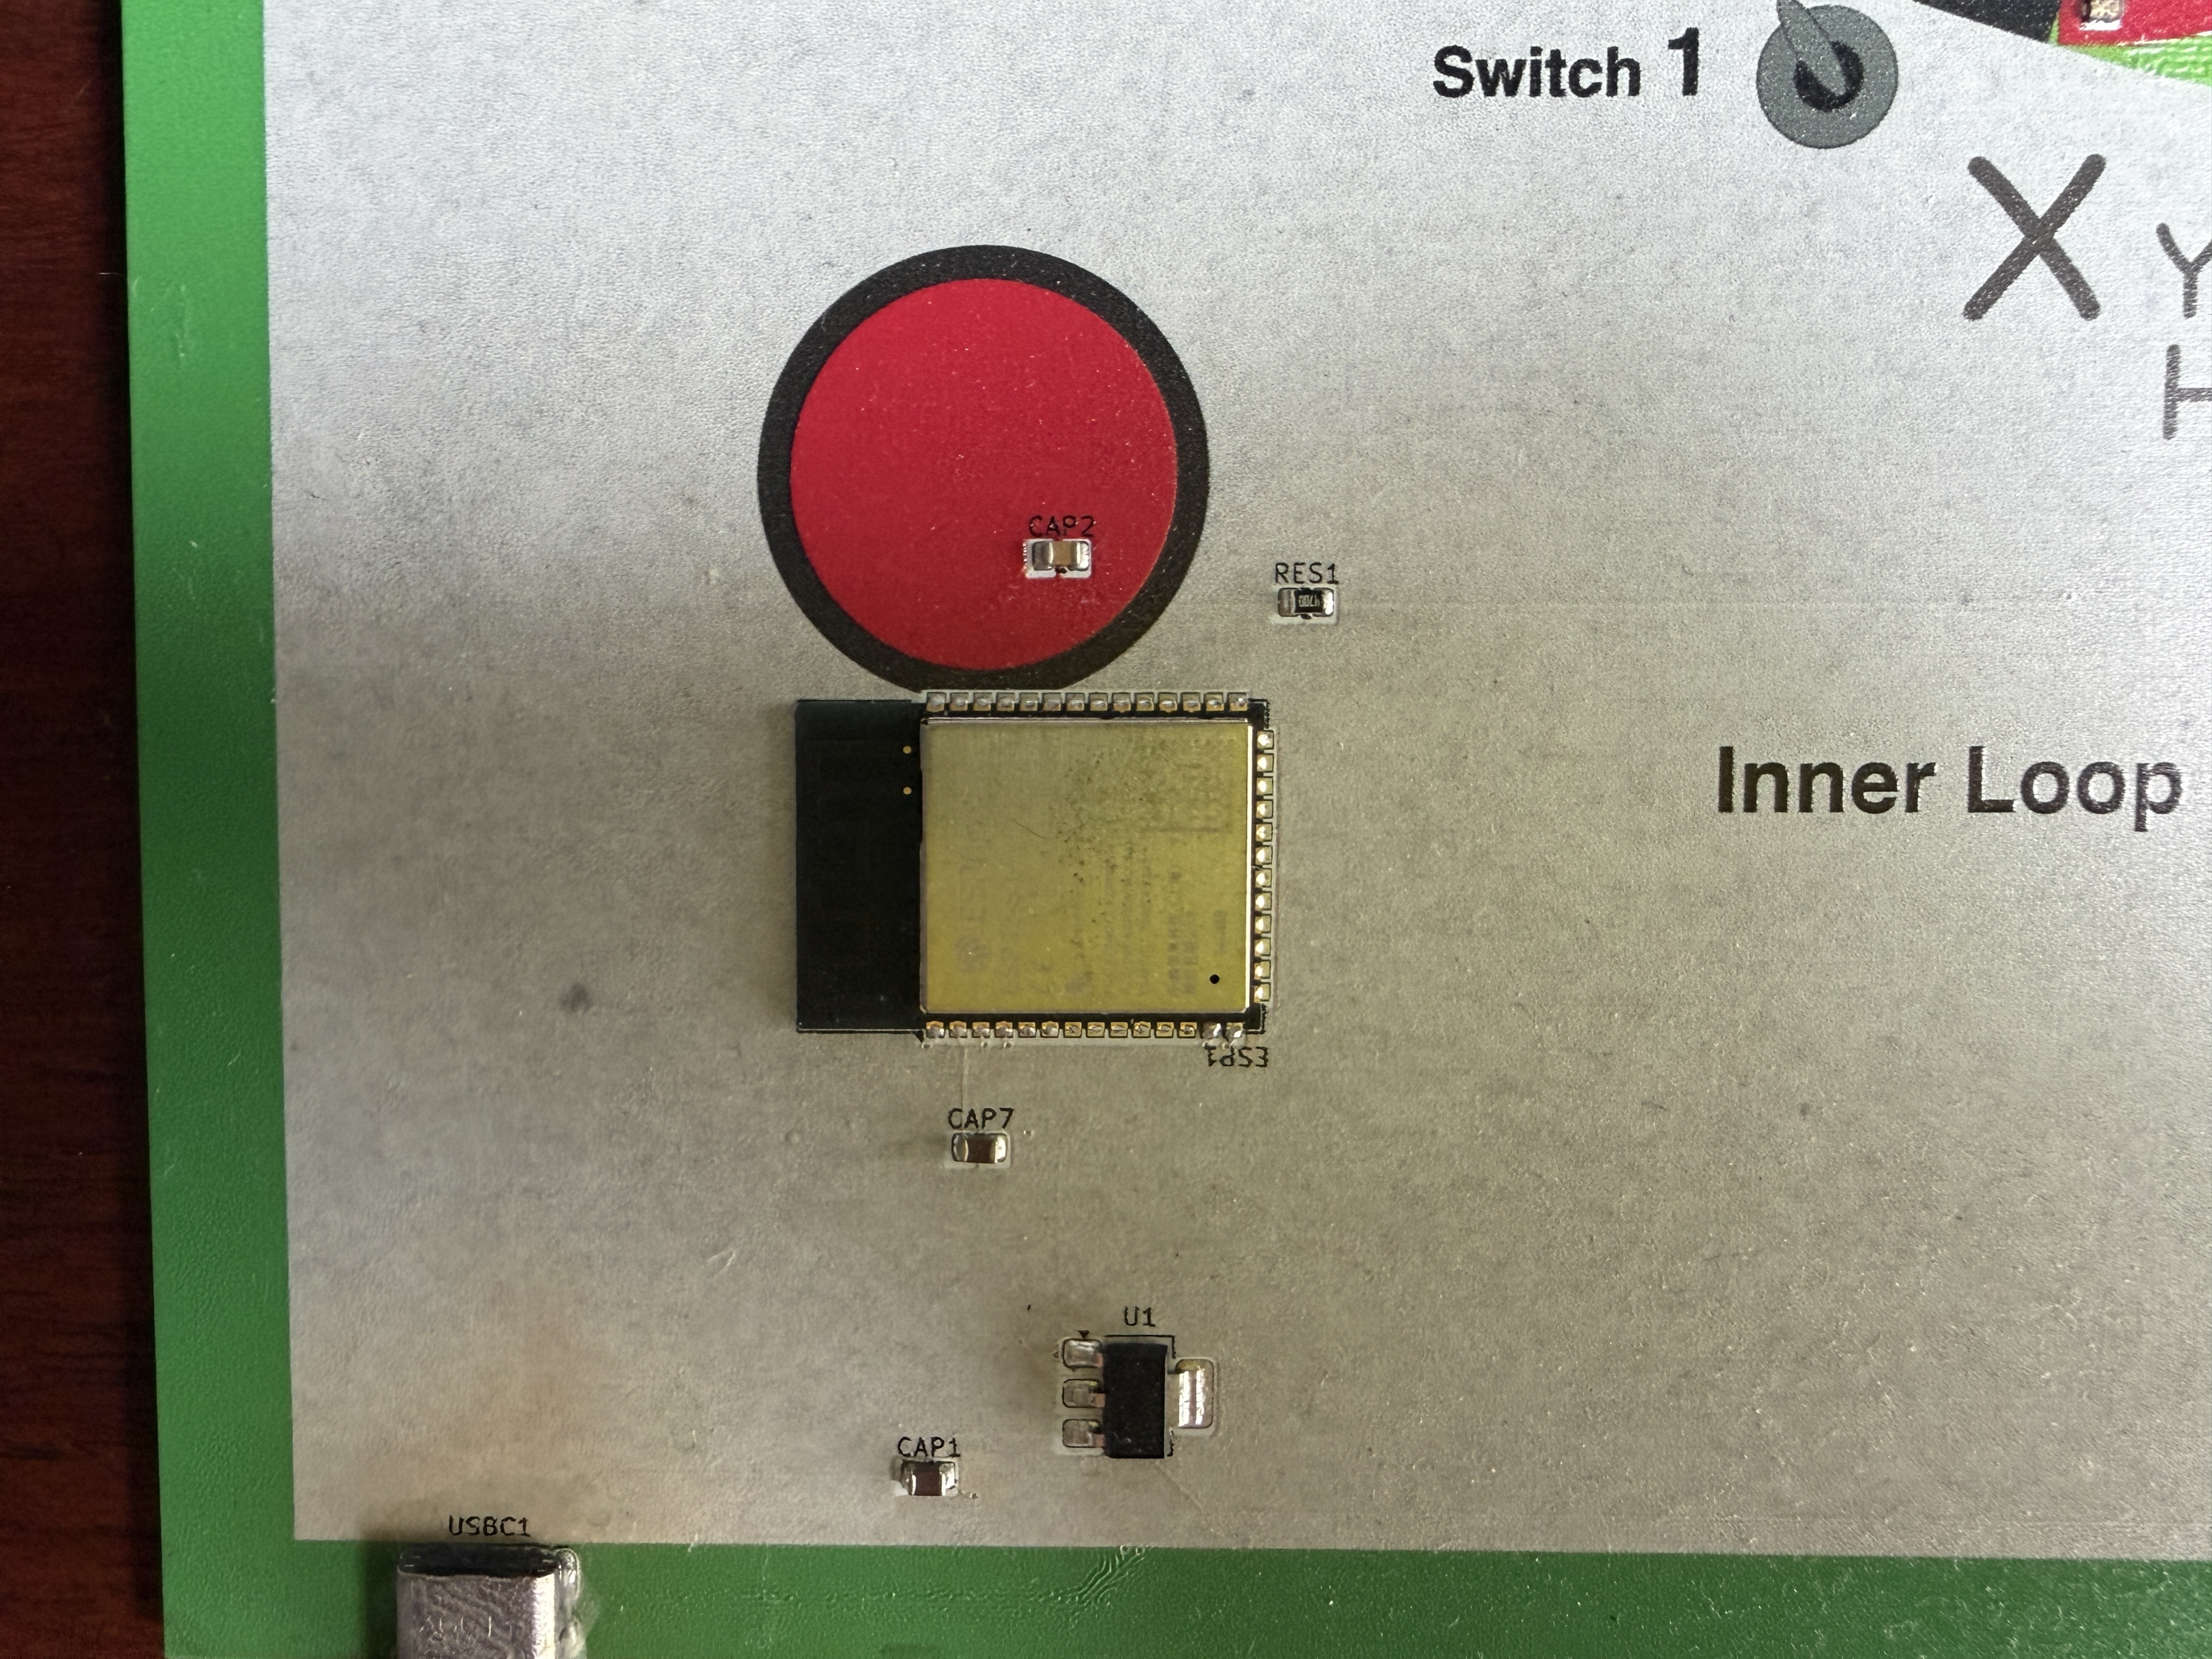
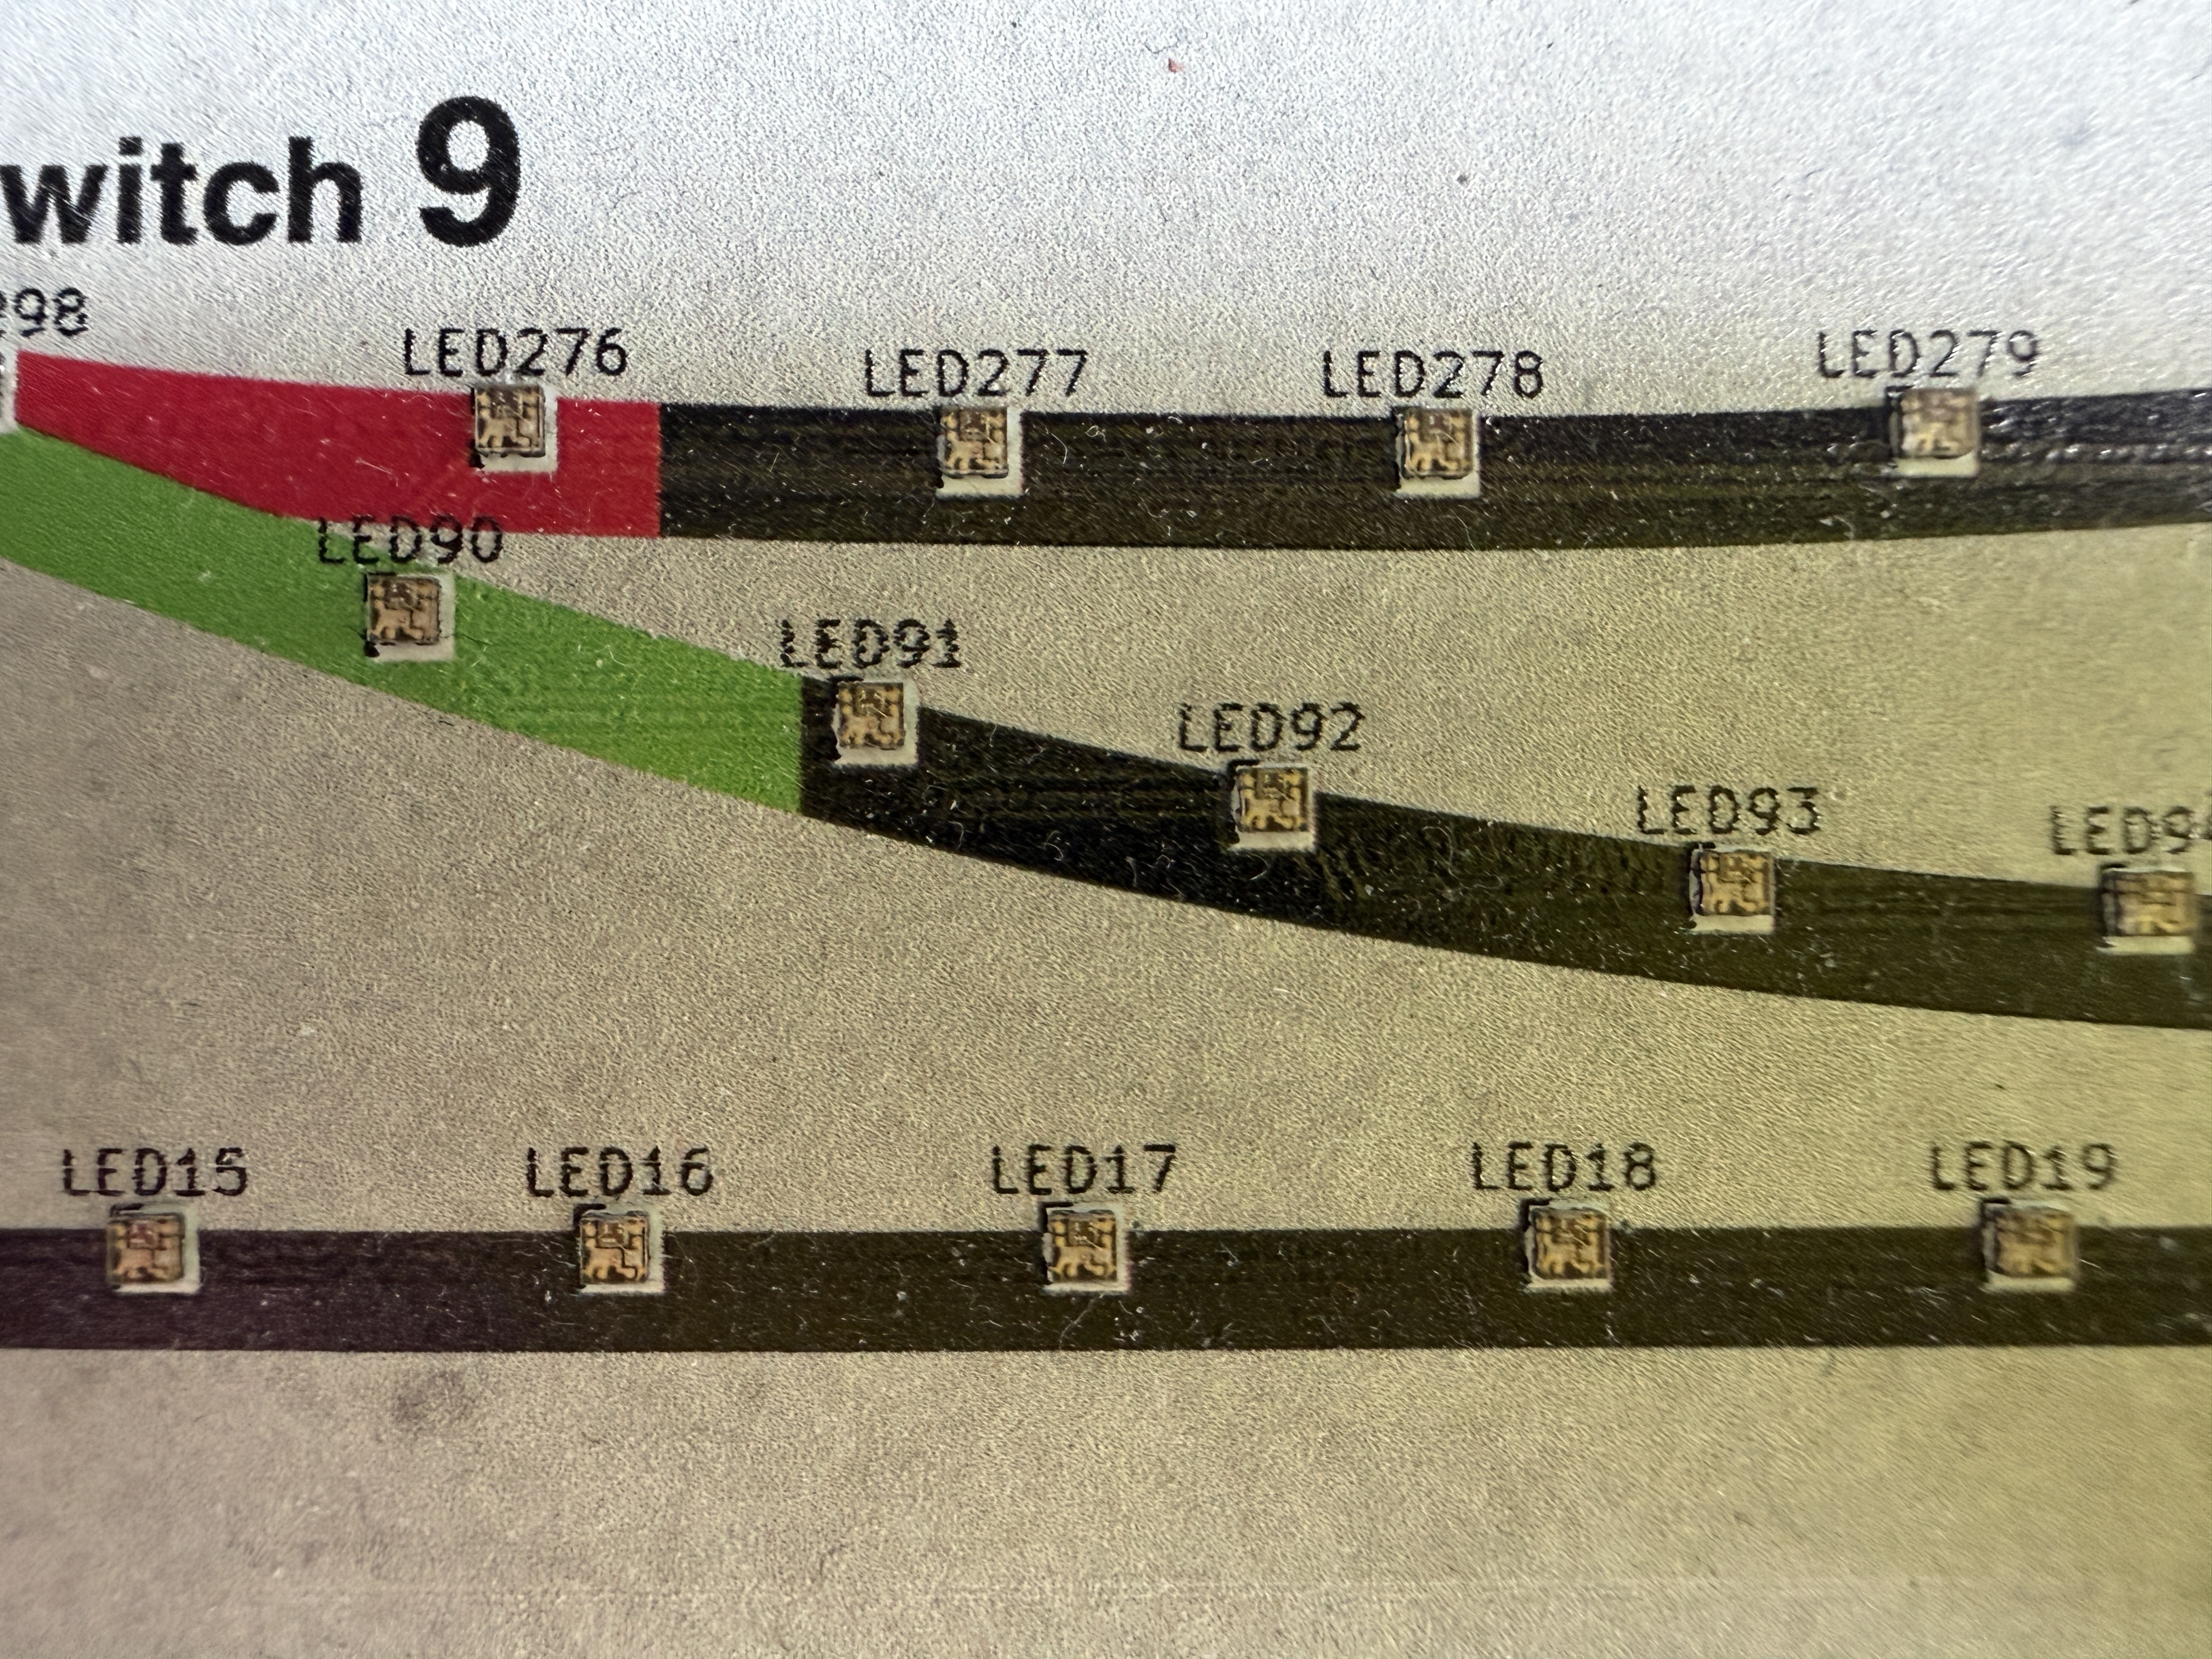
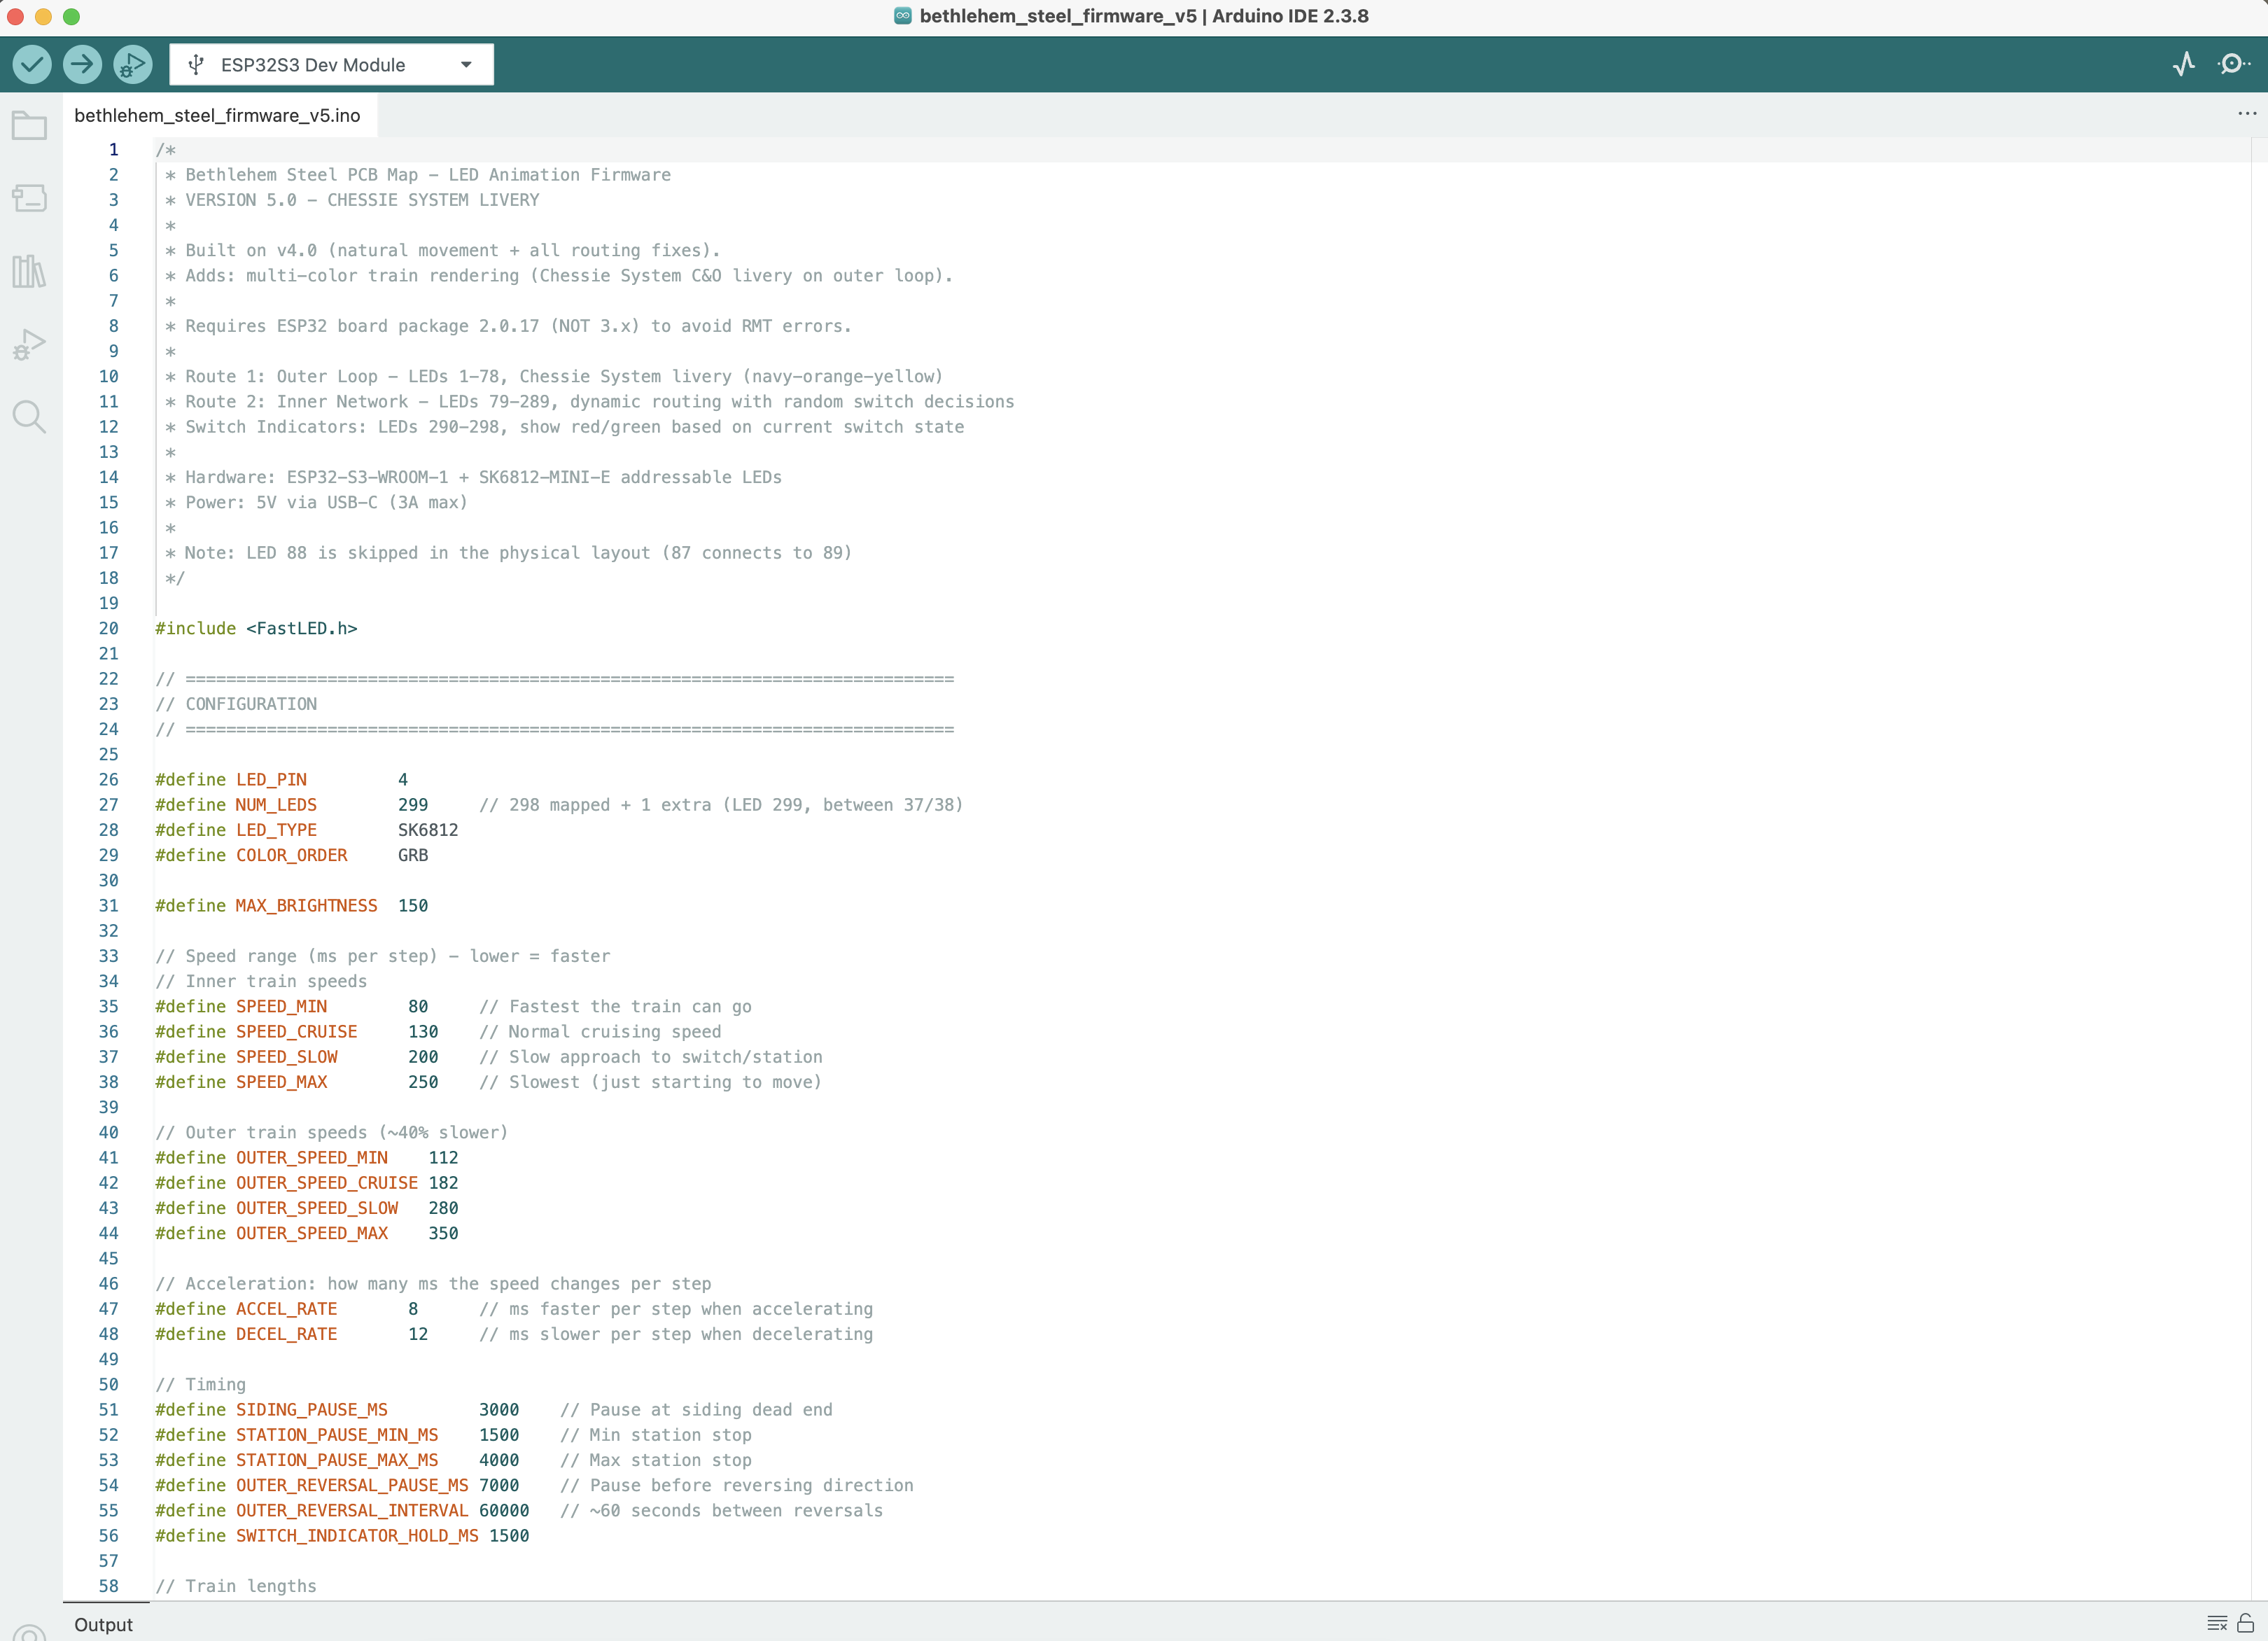
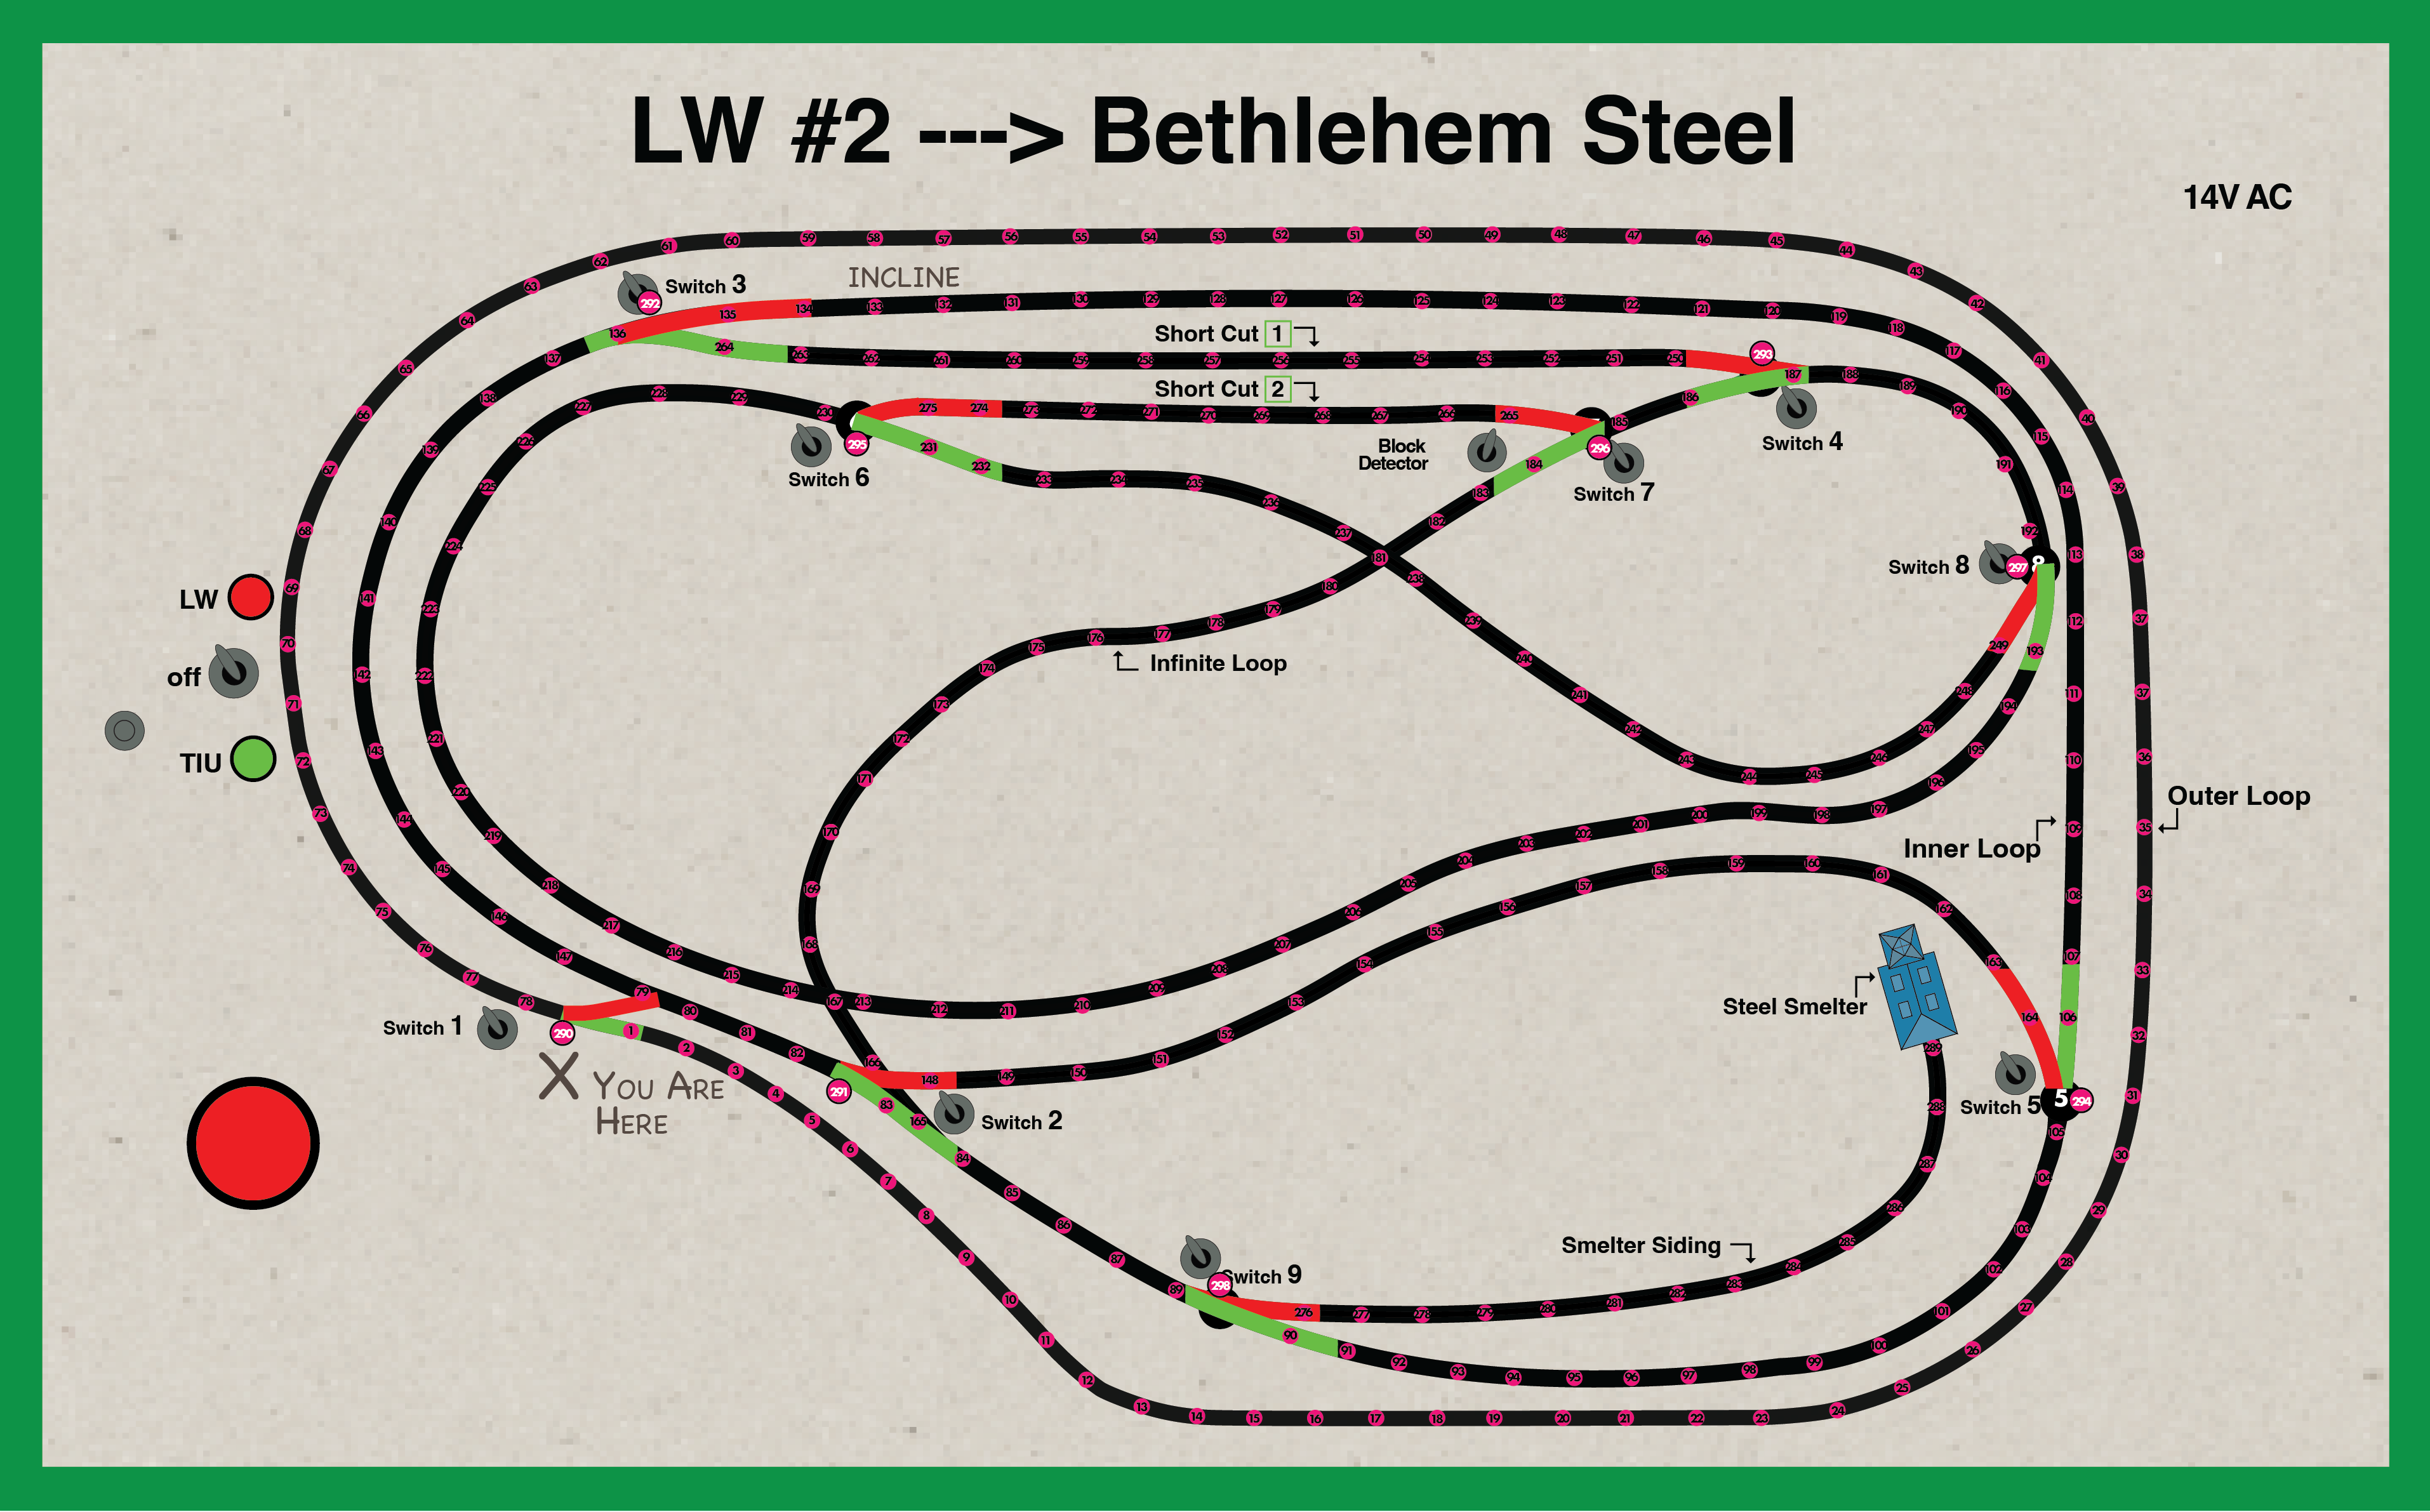
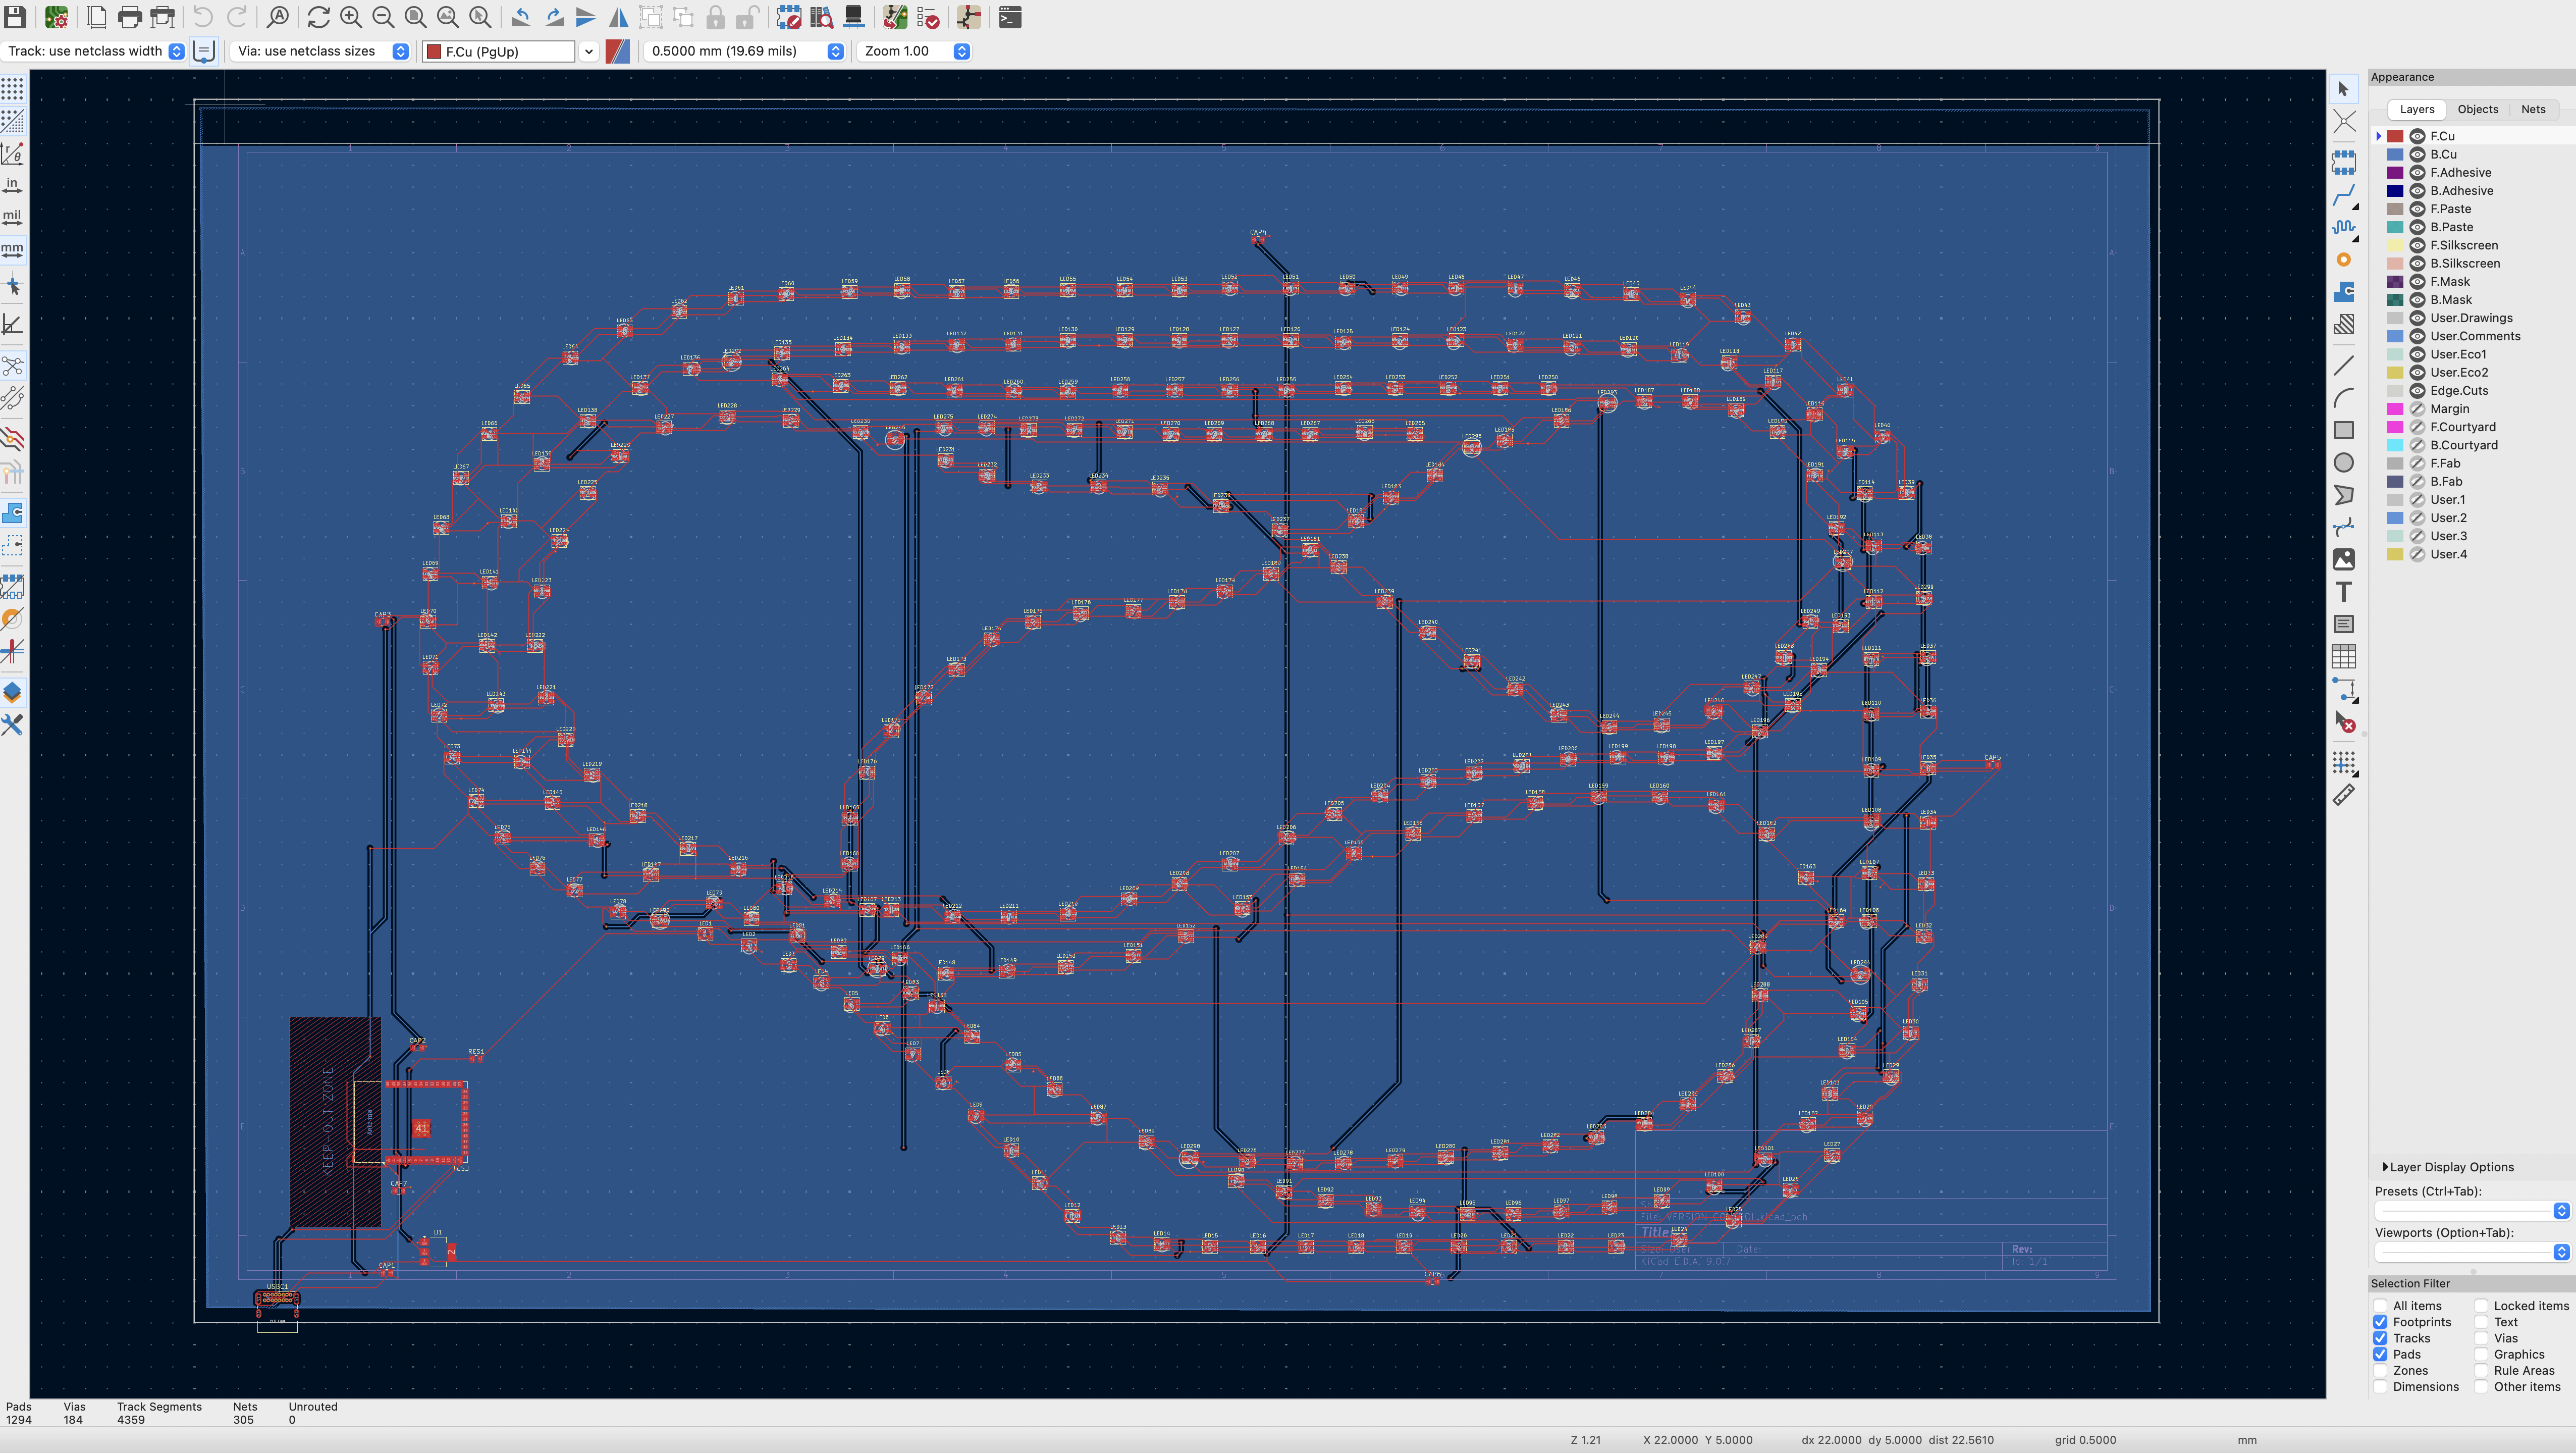
I started out by recreating the full train map in Adobe Illustrator, tracing the track pixel by pixel and positioning 298 LEDs along the route. I mapped out the routing logic by hand, figuring out which switch states produced which paths through the layout, then fed these calculations to Claude which wrote the ESP32 firmware to animate trains along the track. Next we hopped over to KiCad, where Claude helped me understand how to design a printed circuit board (PCB) of the map, complete with LED specs, an ESP32-S3 microcontroller and fun stuff like capacitors and USB-C plugs. Then with a deep breath and several hundred dollars poorer, we sent the PCB design off to China for fabrication and assembly.
Two finished boards. One on my mother's wall. The other was meant for my son's room.
I'm a designer, not an electrical engineer, and I would never have attempted such an elaborate build without significant help from Claude. That said, Claude certainly didn't make things easy. Every couple of weeks I would get a round of emails from the Chinese manufacturer alerting me to a new massive problem in my designs. And these problems were totally alien, not the kind of mistakes a human engineer would ever make. As one example, despite collaborating together in software that comes pre-loaded with the precise dimensions and specs for just about every electronic component on earth, Claude had decided to manually change the dimensions for the nearly 1,200 LED drill holes on the board. Similar problems kept cropping up, each new one confounding the Chinese manufacturer just a bit more. Finally, after months and months of back and forth (and a lot more dollars flowing from my bank account to Shenzhen) the working boards arrived in San Francisco!
I wrote about the whole saga, and the alien ways Claude failed along the way, in an essay: The Alien at the Firm.